Nail trimming is key for pet grooming and keeps your furry friend’s paws healthy. It might seem scary at first, but you’ll get the hang of it quickly. Regular trims keep your dog’s nails clean, prevent pain, and avoid health problems.
Many pet owners prefer to take their dogs to professional groomers. But, learning to trim your dog’s nails at home can be rewarding. It strengthens your bond and saves money. Start early and make it a positive experience with treats and patience.
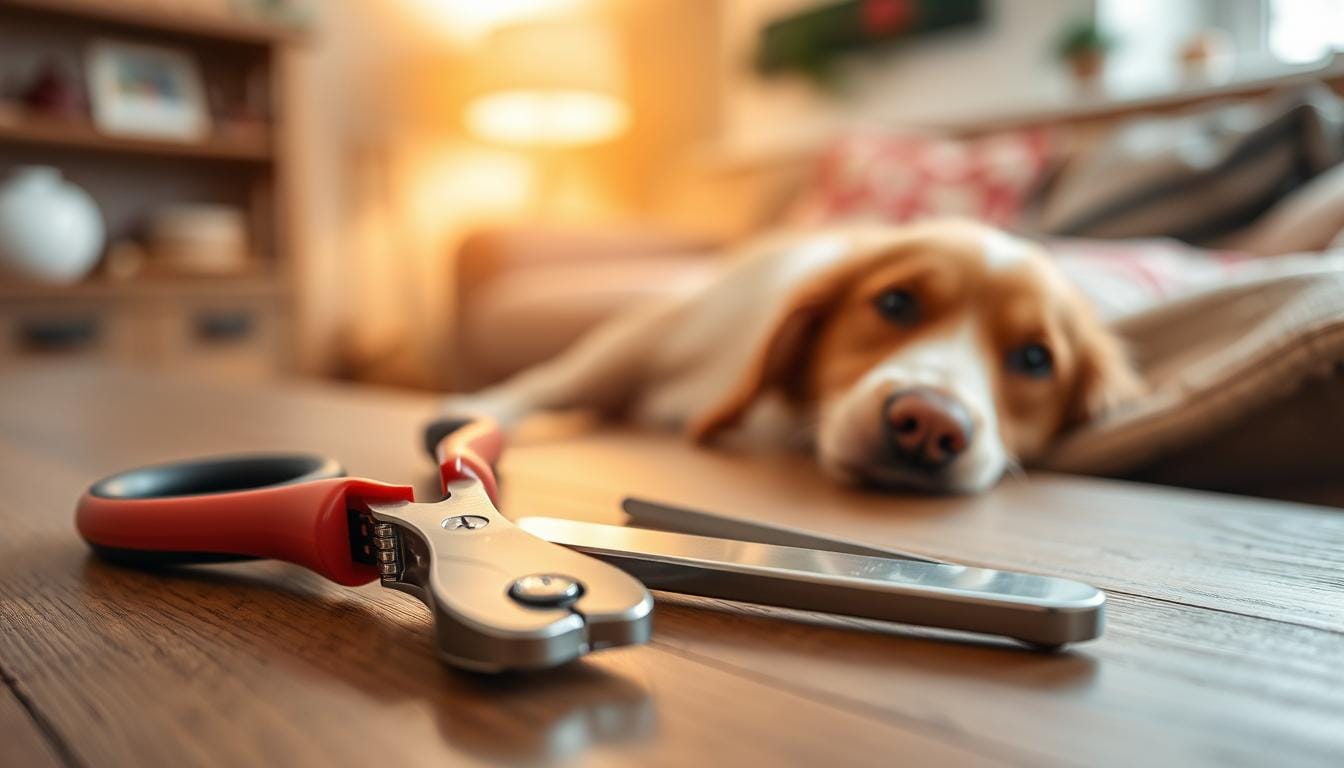
Choosing the right dog nail clippers is crucial for safe trimming. You can find scissor-style, guillotine, or electric grinders. Pick one that fits your dog’s size and is designed for dogs.
Consistency is important. Regular trims keep your dog’s nails short and healthy. With practice, nail trimming will become a routine part of caring for your dog.
Key Takeaways
- Start nail trimming early to help dogs get used to the process
- Use treats to create a positive association with nail care
- Choose the right type of nail clippers for your dog’s size
- Consistency in trimming helps maintain healthy paws
- Regular nail care prevents discomfort and potential health issues
- Practice and patience lead to successful at-home nail trimming
Understanding the Importance of Regular Nail Maintenance
Keeping your dog’s nails trimmed is vital for their paw care. It prevents overgrown nails and keeps paws healthy. Let’s see why this grooming task is so important for your dog’s well-being.
Impact on Dog’s Health and Mobility
Ignoring your dog’s nails can cause big health problems. Long nails can hurt, deform feet, and even harm tendons. They can turn a healthy paw into a splayed foot, making walking hard.
Signs Your Dog Needs a Nail Trim
Look out for these signs that your dog needs a nail trim:
- Clicking sounds on hard surfaces when walking
- Nails touching the ground when standing
- Visible curling of the nails
- Your dog showing discomfort while walking
Natural Nail Wear vs. Manual Trimming
Some active dogs naturally wear down their nails. This means they need trimming less often. For example:
| Dog Activity Level | Recommended Trimming Frequency |
|---|---|
| Small breeds (indoor dogs) | Every 3-4 weeks |
| Large breeds (active dogs) | Every 4-6 weeks |
| Puppies | Every 2-3 weeks |
Regular nail care is crucial for your dog’s health and happiness. By keeping their nails trimmed, you’ll help them stay comfortable and healthy.
Essential Tools for Dog Nail Trimming
Trimming your dog’s nails is key for their comfort and health. We’ll look at the tools you need for safe and effective nail care.
Types of Nail Clippers
Dog nail clippers vary to meet different needs. Scissor clippers are great for small breeds. Plier-style clippers are better for larger dogs. Guillotine clippers stay sharp but can be harder to use.
| Clipper Type | Best For | Ease of Use |
|---|---|---|
| Scissor | Small breeds | High |
| Plier-style | Large breeds | Medium |
| Guillotine | All sizes | Low |
Nail Grinders and Their Benefits
Dog nail grinding is a gentler option than clipping. Grinders file nails down slowly, lowering the risk of cutting the quick. They’re great for dogs with dark nails, where the quick is hard to spot.

Safety Supplies and Emergency Kit
Keep styptic powder ready to stop bleeding if you cut the quick. Also, have cotton swabs and bandages in your kit. For a stress-free experience, consider getting help from a family member or using professional grooming services.
- Styptic powder
- Cotton swabs
- Bandages
- Treats for positive reinforcement
Remember, 78% of dog owners groom their pets at home. With the right tools and knowledge, you can safely trim your dog’s nails and avoid frequent grooming services.
Dog nail trimming, pet grooming, healthy paws
Regular dog nail trimming is key for healthy paws and overall well-being. Long nails can be uncomfortable and even cause joint problems. Keeping your furry friend’s paws in good shape is crucial.
Indoor dogs or those on smooth surfaces need nail trims every 3-4 weeks. Dogs that walk on hard surfaces naturally wear down their nails. It’s vital to have a regular grooming schedule for your dog’s nails, ears, and teeth.
Here are some nail trimming tips to keep in mind:
- Use proper tools designed for dog nail trimming
- Familiarize your dog with the trimming process gradually
- Trim small amounts at a time to avoid cutting the quick
- Reward your dog with treats and praise during and after the trim
If you’re unsure about trimming your dog’s nails, consider professional grooming. Experts can ensure your dog’s paws stay healthy. Regular nail care prevents pain, reduces injury risk, and improves your pet’s mobility.
Understanding Your Dog’s Nail Anatomy
It’s important to know your dog’s nail structure for safe trimming. Dogs have four toenails on each paw. Some breeds have dewclaws on their legs’ inside.
These nails are made of keratin, a tough protein. It forms a protective outer shell.
The Quick and Its Location
Inside each nail is the quick, a bundle of nerves and blood vessels. In light-colored nails, it’s visible as a pink area. Dark nails make the quick harder to spot, requiring extra care during trimming.
Regular trims encourage the quick to recede. This allows for shorter, healthier paws.

Differences Between Light and Dark Nails
Light nails reveal the quick easily, appearing as a pinkish region. Dark nails pose a challenge as the quick isn’t visible. We recommend using a nail grinder for dark nails.
It offers better control and reduces the risk of cutting too deep.
Nail Growth Patterns
Healthy dog nails grow in an oval shape. They are wider at the base and narrower towards the tip. They shouldn’t touch the ground when your dog stands.
Overgrown nails can lead to discomfort. It affects your dog’s gait and posture. Regular trimming every 3-4 weeks maintains optimal nail length and promotes healthy paws.
| Nail Type | Quick Visibility | Trimming Approach |
|---|---|---|
| Light Nails | Easily visible | Standard clipping |
| Dark Nails | Not visible | Gradual grinding |
| Dewclaws | Varies | More frequent trimming |
Preparing Your Dog for Nail Trimming
Getting your dog ready for nail trimming is very important. It’s best to start when your dog is still a puppy. Puppies are usually more open to nail trimming, making it easier to get them used to it.
To make nail trimming a success, you need to make it a positive experience. Start by touching and holding your puppy’s paws often. This makes them comfortable with having their paws handled. Then, let them sniff and explore the nail clipper without any pressure.
According to Veterinary Behavior Consultations in Austin, Texas, it’s key to make nail trims positive. Here are some tips to help:
- Touch your dog’s paws regularly, associating it with treats and praise
- Introduce the nail clipper slowly, rewarding your dog for calm behavior
- Practice the motions of trimming without actually cutting the nails
- Choose a quiet, well-lit area for the trimming session
- Remain calm and set a good example for your dog
Ken’s Dog Grooming Salon in San Jose, California, suggests introducing your dog to grooming slowly. Take them for visits and give them treats to make it a positive experience. This can make nail trimming up to 50% more successful.
Remember, patience is crucial. It might take a few sessions for your dog to fully accept nail trimming. By using these techniques, you’ll keep your dog’s paws healthy.
| Preparation Step | Success Rate | Time Required |
|---|---|---|
| Starting with puppies | 80% | 1-2 weeks |
| Using reward-based training | 70-80% | 2-4 weeks |
| Gradual desensitization | 60% | 3-6 weeks |
| Offering treats during trimming | 50% increase | Ongoing |
Step-by-Step Nail Clipping Technique
Learning to trim your dog’s nails is key for their comfort and health. We’ll show you how to use dog nail clippers safely and effectively.
Proper Positioning and Restraint
Trim your dog’s nails when they’re in a natural position. Hold their paw gently and push the pad up a bit. This makes it easier to see and control the nails.
Correct Cutting Angle
Clip the nail tip at a 45-degree angle. For dark nails, cut a little at a time. Look for a black dot in the center to avoid the quick. It’s better to cut in three small parts than one big piece.
Dealing with Different Nail Types
Light-colored nails are simpler to trim because you can see the quick. Dark nails need more care. Don’t forget to trim the dewclaws, as they don’t wear down on their own.
| Nail Type | Trimming Frequency | Special Considerations |
|---|---|---|
| Light Nails | Every 2-3 weeks | Quick is visible, easier to trim |
| Dark Nails | Every 3-4 weeks | Trim gradually, watch for black dot |
| Dewclaws | Every 4-6 weeks | Don’t skip, can grow into paw if neglected |
By using these tips and the right clippers, you’ll keep your dog’s paws healthy. Remember, patience and practice are important for this grooming task.
Using Electric Nail Grinders Safely
Electric nail grinders are now popular for dog nail grinding. We’ll show you how to use them safely. This way, your dog will stay comfortable during grooming.
First, pick a cozy spot for your dog. Make sure they’re in a position where you can easily reach their paws. Let them sniff the grinder before you turn it on.
When you start grinding, hold your dog’s toe gently but firmly. Grind the bottom of the nail first, then move inward from the tip. This method smooths out rough edges without hitting the quick.
- Hold the grinder higher for better control
- Keep long fur away from the tool
- Watch for signs of discomfort
Take breaks to avoid overheating and to comfort your dog. Don’t forget to trim dewclaws, as they grow faster. After grinding, make sure your dog’s nails don’t touch the ground when they stand.
Professional grooming services use similar methods. Learning to do this at home saves money and strengthens your bond with your pet.
| Nail Grinding Tips | Benefits |
|---|---|
| Grind little by little | Avoids cutting the quick |
| Use treats for positive reinforcement | Creates a pleasant experience |
| Regular maintenance | Prevents overgrowth and discomfort |
With practice, dog nail grinding gets easier. Always praise your pup and give them treats after. This positive feedback will make grooming a lot easier for both of you.
Handling Emergency Situations
Accidents can happen during veterinary grooming. We’ll show you how to handle emergencies when trimming your dog’s nails. Knowing how to act can greatly improve your pet’s comfort and safety.
What to Do If You Cut the Quick
If you accidentally cut the quick, don’t worry. Apply styptic powder to stop the bleeding. If you don’t have styptic powder, use cornstarch, flour, or baby powder. Gently press it on the nail tip.
It might hurt your dog, but it’s not dangerous.
Managing Bleeding
Apply pressure to the nail for a few minutes. If the bleeding doesn’t stop, use more powder. Most bleeding will stop in 5-10 minutes.
Keep your dog calm and still. Healthy Paws pet insurance can help with unexpected vet visits.
When to Seek Veterinary Care
Watch the nail for more bleeding or infection signs. If bleeding lasts over 30 minutes or your dog seems distressed, get help. Your dog’s health is the most important thing.
In emergencies, pet insurance can offer peace of mind and financial help.
Always have a pet first-aid kit ready for emergencies. It should have styptic powder, bandages, and your vet’s contact info. With the right preparation and knowledge, you can handle most nail trimming emergencies at home.
Establishing a Regular Trimming Schedule
Creating a routine for dog paw care is key for your pet’s health and comfort. Regular nail trimming stops overgrown nails, which can cause mobility issues and discomfort. Let’s look at how to set up a good schedule for this important part of pet grooming.
Frequency Guidelines
The best time for nail trimming is every 3-4 weeks. This keeps the nails the right length and avoids health problems. Dogs that run on hard surfaces might need trims less often, as the ground naturally wears down their nails. Watch for clicking sounds on hard floors, which mean it’s time for a trim.
Seasonal Considerations
Seasonal changes can change how fast your dog’s nails grow and wear. In winter, dogs may not get as much exercise, leading to longer nails. Summer activities might wear down nails faster, so you might not need to trim as often. Adjust your grooming schedule based on these changes, always checking the nail length.
- Spring/Summer: Check nails every 2-3 weeks due to increased outdoor activity
- Fall/Winter: Monitor nails every 1-2 weeks as indoor time increases
Remember, regular dog paw care, including nail trims, is vital for your pet’s health. It prevents arthritis, joint pain, and infections, helping your dog move comfortably. By sticking to a regular trimming schedule, you keep your dog happy, healthy, and active all year.
Conclusion
We’ve looked into the key parts of dog nail trimming and its role in pet grooming and healthy paws. Keeping your dog’s nails trimmed is crucial, with experts saying it should be done every 3 to 4 weeks. This simple task can prevent many problems, from pain to serious health issues.
Good nail care is more than just looks. It keeps your dog’s feet and legs in the right position, easing strain on joints and muscles. This can help prevent arthritis and other age-related problems. In fact, studies show that about 65% of dogs over seven have arthritis because of long nails.
Learning to trim your dog’s nails takes time and effort. It’s important to avoid cutting the quick, which is the sensitive part with blood vessels and nerves. By sticking to a regular grooming routine and using the right methods, we can keep our dogs’ paws healthy and happy. A dog with well-kept nails is not only healthier but also happier.

